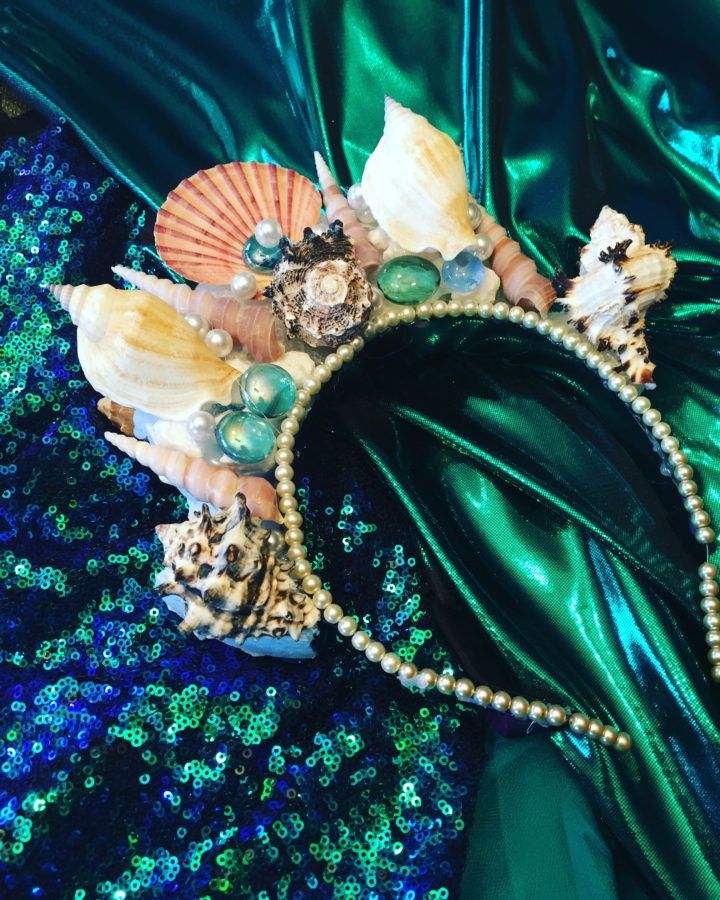
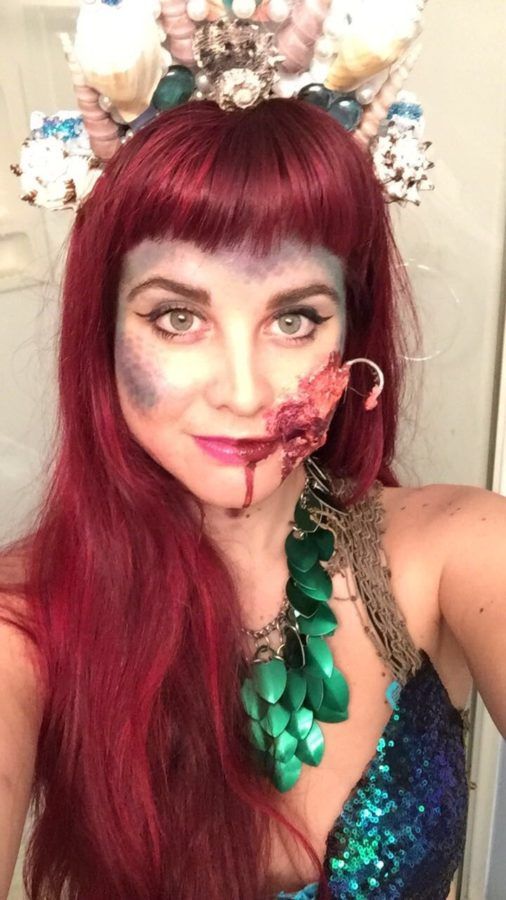
DIY Halloween Mermaid Crown
I just thought I would step outta the kitchen for a minute and into the arts and crafts zone because Halloween is coming up! If you’re unsure of what to be…a mermaid could be a fun costume. Or better yet, a hooked mermaid! This was such a fun costume to make, that I used it two years in a row! That is almost a sin for me as I have so much fun dressing up and making costumes but I just loved this crown so much I had to use it more than once! Sadly I left it in a taxi while I stopped for pizza before I made my way home last Halloween…and it’s never been seen again. Boooo!
These were inspired by the gorgeous Chelseas Flower Crowns – I swoon over her amazing creations on Instagram alllll the time!
This crown is heavy duty and it’s important you get a thick plastic head band that is comfy on your head and do not be afraid of the glue gun – load. it. up.
What you will need:
The links below are to direct products, I can’t guarantee they are the exact ones I used but I did get my supplies at Michaels. I also found some Amazon links that may work as well.
- a thick plastic head band (most dollar stores will have these!)
- a couple styrofoam discs (find them at Michael’s!)
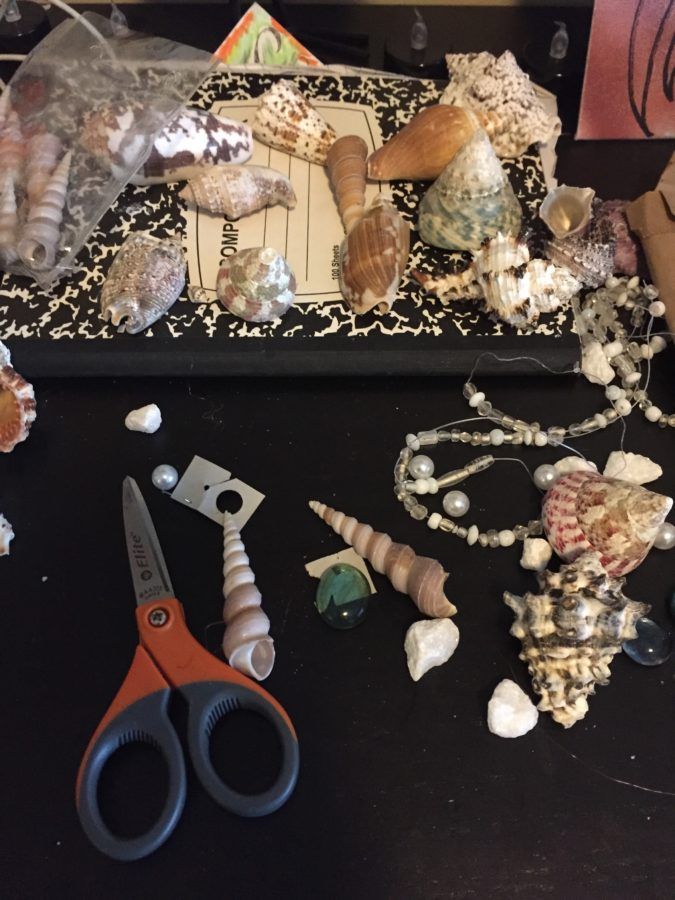
- Seashells (again, Michael’s)
- Pearls (dollar store or Michael’s)
- glass rocks (dollar store or Michael’s)
- glue gun and glue sticks (Michael’s)
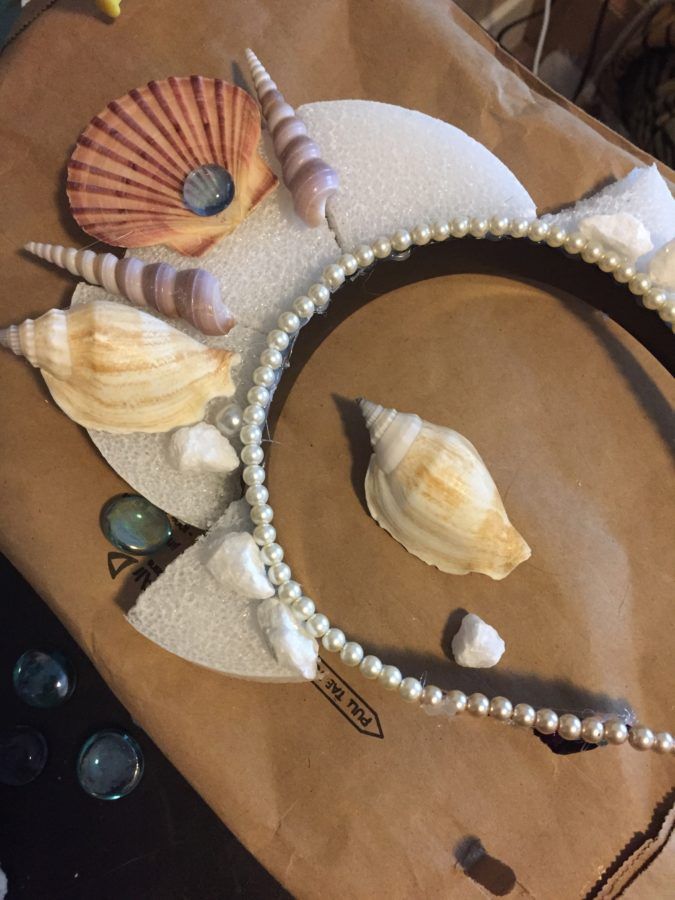
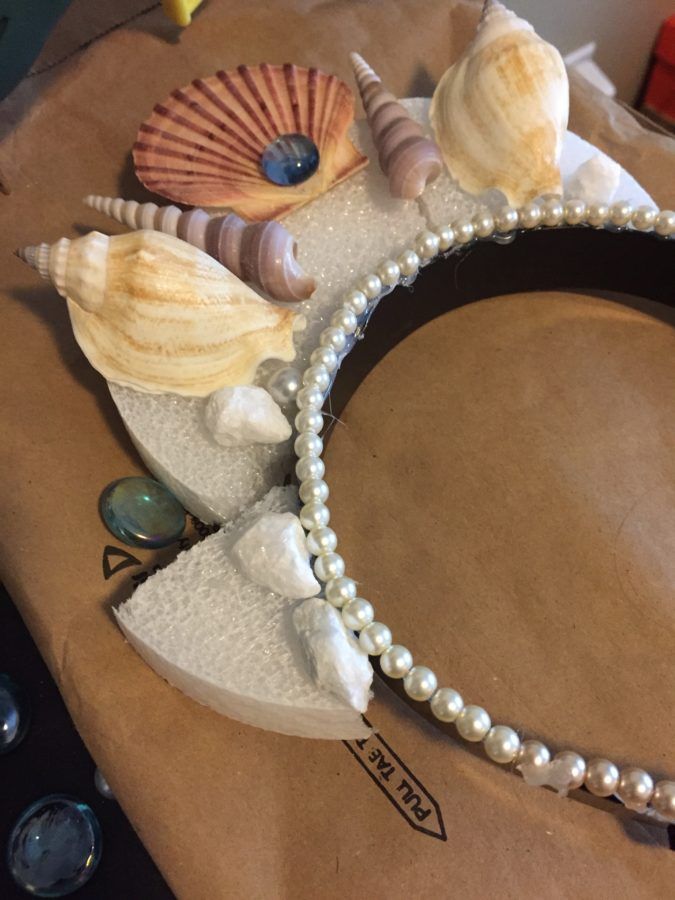
Step 1: Cut the styrofoam discs into smaller pieces and glue to the head band. Try to get the edges of the styrofoam shaped similar to the crown so they are touching as much as possible. Imagine the shape you would like your crown to take. This is the basis of your entire crown so if you want pieces on the side or taller pieces in the middle, be sure to arrange the styrofoam how you want the end shape of the crown to look. USE A TON OF GLUE HERE.
Step 2: Glue your pearl strand around the edge of the head band on the front side.
Step 3: Do a practice lay out of the front of your crown using the shells, glass gems, and any other decorations you have got. This is just to plan the overall look of the crown and get your favourite pieces laid out as you like them. Keep in mind that you will have to do the back of the crown too, so be conscious of the weight you are adding with all your front decorations.
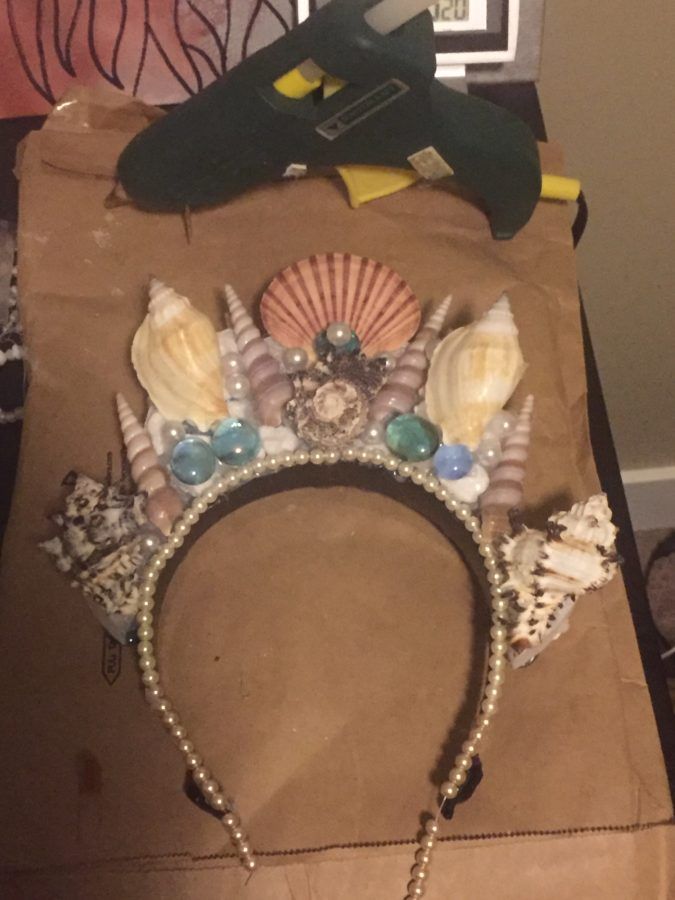
Step 4: Start glueing! If the glue gun seems messy, don’t worry. Try your best to keep it neat but you can always try and get rid of excess glue mistakes when it has hardened and dried. You can also use sparkles to cover them up so it isn’t just clear glue.
Step 5: Let the front dry completely and test it out by putting it on your head gently.
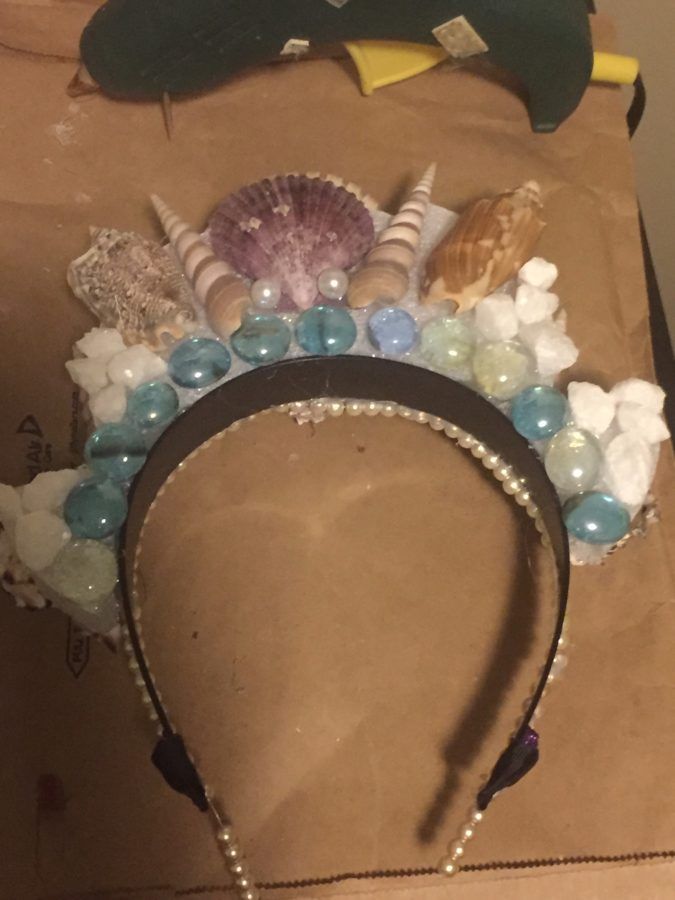
Step 6: Lay out the back decorations as you did with the front and glue. Let dry completely.
Step 7: For the gap on the styrofoam between the front and back, I recommend adding sparkles instead of extra decoration as that is just more weight.
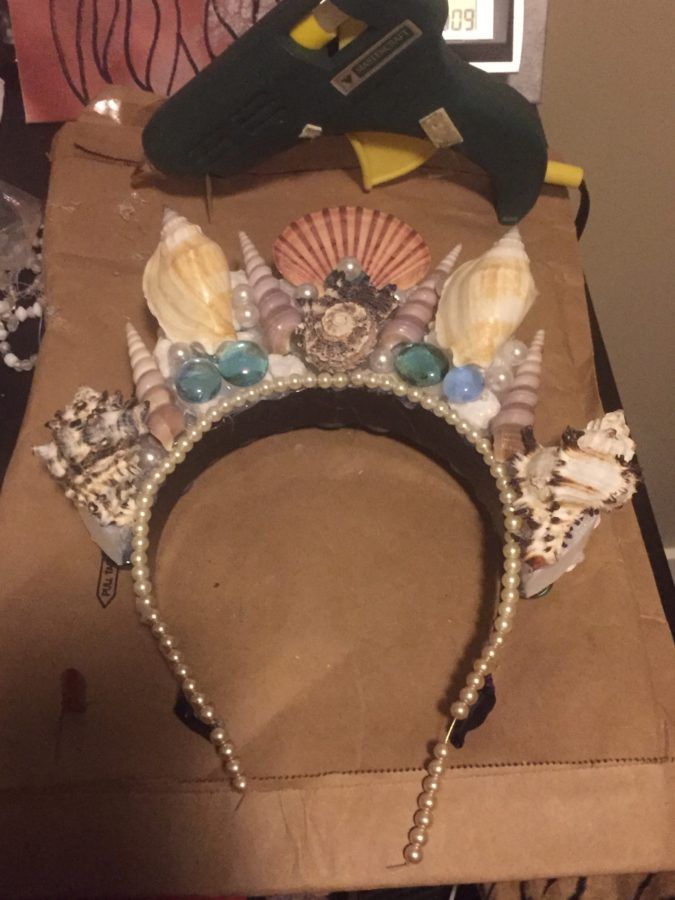
It’s really about getting creative and going for whatever look you want. Of course this could be done for a princess crown or even an evil villain’s crown as well! I’d love to see what you create if you’re up for the challenge!
Disclosure Notice: This article contains amazon affiliate links. Koko’s kitchen earns a small commission on any purchases made as a result of clicking on them.