
Fermentation
Are you familiar with fermented foods? Your great grandmothers would know all about them. Fermenting foods seems to be almost a lost art, which is so sad! I’m excited to say though that there has been a huge resurgence lately in these old school cooking, and preserving methods. Several weeks ago I made sauerkraut at home and I was shocked at how easy it was. I had been debating buying a bottle of probiotic pills, but fermented foods have the exact same effect for a much smaller price tag. Eating just a tablespoon of fermented foods a day gives you the equivalent ‘good bacteria’ for you guts, as an entire bottle of probiotic pills. How amazing is that! And the only ingredients were cabbage and himalayan salt. The main reason fermented foods are so healthy is because they contain all that good bacteria. They can help you to reduce cravings for sugars and carbs, they enhance digestion and absorption of nutrients in food, improve our immune system, keep fruits and vegetables preserved without chemicals, and make us happier as a result of seratonin production (80% is made in our gut). Thanks to Vital Life for those fun facts! I recently went to a class held at Wilder & Hunt, a small cafe in St Heliers, with a second location opening soon in Ponsonby. I absolutely loved learning more about the art of fermenting from the ladies of Vital Life. Susan & Jude taught us how to make cultured vegetables, raw milk kefir, whey, butter, buttermilk, and more. I was stunned at the delicious foods you can ferment. We were able to try a delicious fermented chutney and the tastiest apricot spread ever- I could eat it for dessert every day!!  A huge part of this was using raw (unpasturized) dairy milk. I have been looking forward to experimenting with raw milk for the last few months. For ages I have avoided dairy and found it gross, and it hurts my stomach, too! I’ve been doing a ton of research and have felt a small shift in my consciousness towards the benefits of raw milk- a superfood to some. I’ve met someone who was diagnosed with celiac disease and raw milk was essential for them to help re-line their intestinal system, and put on weight. I’ve also read a lot of research by Weston A. Price showing the benefits of full fat, unpasturized milk. I still tend to stay away from regular pasturized dairy as much as possible but after tasting raw dairy, I’m really excited about it. We tried quite a bit and I had zero reaction from it- something that is commonly found with those who are lactose intolerant. They are often completely fine having raw milk! I will keep experimenting with raw milk and let you know how it goes… Anyway, thanks again to the ladies at Vital Life for sharing such valuable information. If you’re in the Auckland area, keep your eye out for more classes. You can check out the Wilder & Hunt website and facebook page for updates as well as the Vital Life NZ Facebook page. I happen to know about a few of their upcoming topics and I can’t wait to learn more. I’ll be sharing any info on my FB page, and Twitter, too. I’m going to share my own super simple sauerkraut recipe, as well as a cultured vegetable recipe which I learned from the class. These both have probiotic powers, and I think they look gorgeous! I’ll try to post some youtube videos in the future with step by step directions, as I think a visual can really help with fermenting recipes. This recipe for sauerkraut can be made very simple, using only cabbage. Or else you can make it a little more flavourful by adding things like onion, ginger, garlic, or turmeric. There is no need to be exact with the amounts. The general ratio for salt to cabbage is the most important part. Usually 5 pounds of cabbage should be mixed with 3 Tbsp of salt. Other than that, just throw in whatever you think will taste good when it comes to the amounts of ginger, garlic, etc. You can even add some grated carrot. Make sure you put the mixture in a clean jar. You can do make sure of this by boiling a jar in hot water with a tsp of baking soda. I only have one canning jar right now so I put my sauerkraut in old pickle jars… Sauerkraut with Garlic, Ginger, and Turmeric (this filled one pickle jar)
- 1 1.5- 2lb organic cabbage (red or green)
- 2-3 tsp himalayan salt or sea salt
- 1/4 red onion, sliced
- 1 tsp grated ginger
- 1 Tbsp grated turmeric
- 3 cloves garlic, minced
- 1/8 tsp chili flakes
 Set aside an outer leaf from your cabbage. Core your cabbage and slice it as thin as possible. You can use a mandolin for this if you like.
  Combine in a bowl with the salt.
 “Massage” the cabbage for 10-15 minutes. Juices will start to be released and you will be left with a whole lot of it. There should be enough to fill the jar.
  Add the turmeric, ginger, garlic, and chili flakes.
  Place the mixture into a sterilized jar and push down with a spoon. You want to try to release all the air, so make sure you really pack it in. Place your reserved outer cabbage leaf on top of the mixture. You can put a weight of some sort on top of this, too. This is to ensure that the liquid stays above the mixture at all times. Seal the jar and place it on your countertop in a warm space, out of direct sunlight. Let it sit there for about 4 days. Open the jar every day to release the gas. Taste the mixture after 4 days. If you like the level of tanginess, you can put the jar in the fridge to slow the fermentation process and enjoy. Otherwise, you can leave the jar out on the counter for longer. If the room is cold, this will likely take more than 4 days, for example, my current batch has been out 7 days now. Layered Vegetables
  There is nothing easier than making these beautiful layered vegetable jars. You can use whatever vegetables you like, within reason…harder vegetables are best. You can use cauliflower, bell peppers, squash, onions, carrots, daikon, beans, etc. Here I just used cauliflower, red bell pepper, and carrots. You can either use raw milk whey to culture the vegetables or buy a vegetable culture starter pack which would be the vegan way to do this. Roughly chop all of the vegetables you are using, and place them into the jar. Up to the shoulder of the jar is a good level. Add 1/4 cup of way, or your vegetable culture starter. Make a brine using 1 cup of water and dissolving 1 Tbsp sea salt in it. Pour into the jar. Top the jar up with water just so the veggies are covered. Fill a small ziploc bag 1/4-1/2 full with water. Seal it tightly and place overtop of the vegetables. This is your weight to keep the veggies underneath the water level. If using an air lock lid like I did, fill the airlock to the ‘max’ level with water. Place the plastic cap on the top. Insert the bottom into the rubber seal on the lid of the jar. Let sit on the counter top for four days in a warm place, out of direct sunlight. Taste after four days and see how ‘fermented’ it tastes. If cold, it may take longer than four days. Once you like the taste and level of tanginess, you can remove the airlock and put on a regular lid and place in the fridge.
  You can use these two fermented recipes many ways. I like to add sauerkraut and fermented vegetables to salads and sandwiches. They can also be added to soups, stews, and dumplings. Over the next few weeks, I’ll share some recipes using these fermented goods!
Are you familiar with fermenting? What kinds of fermented foods have you tried before- sauerkraut, kimchi, etc?


You May Also Like
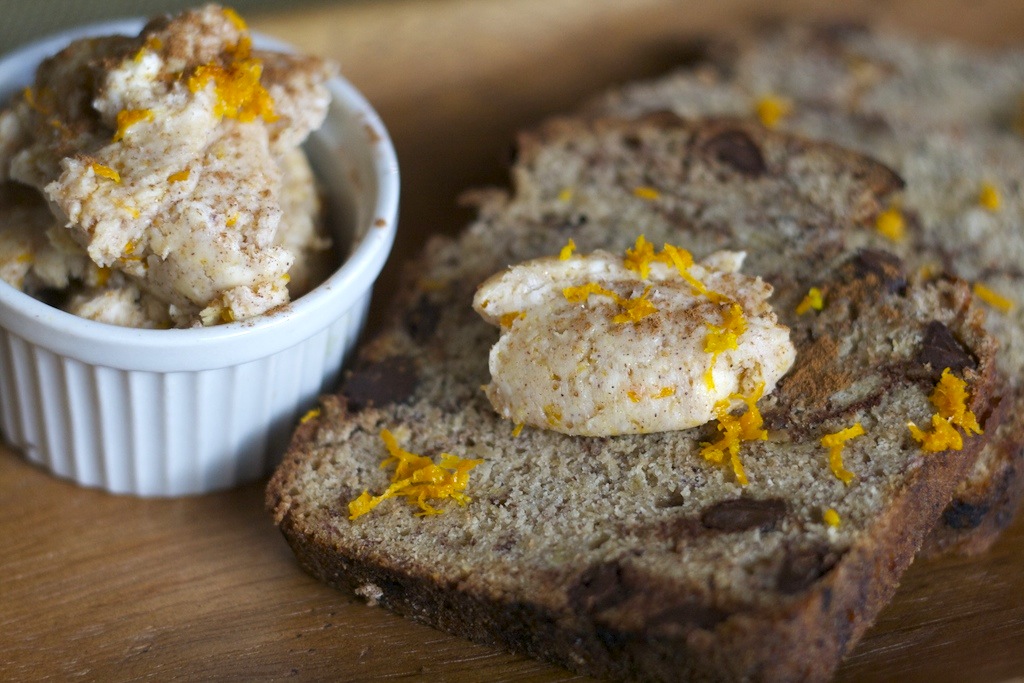
Chocolate Chip Banana Bread with Orange-Cinnamon Butter
Hazelnut Cashew Milk
