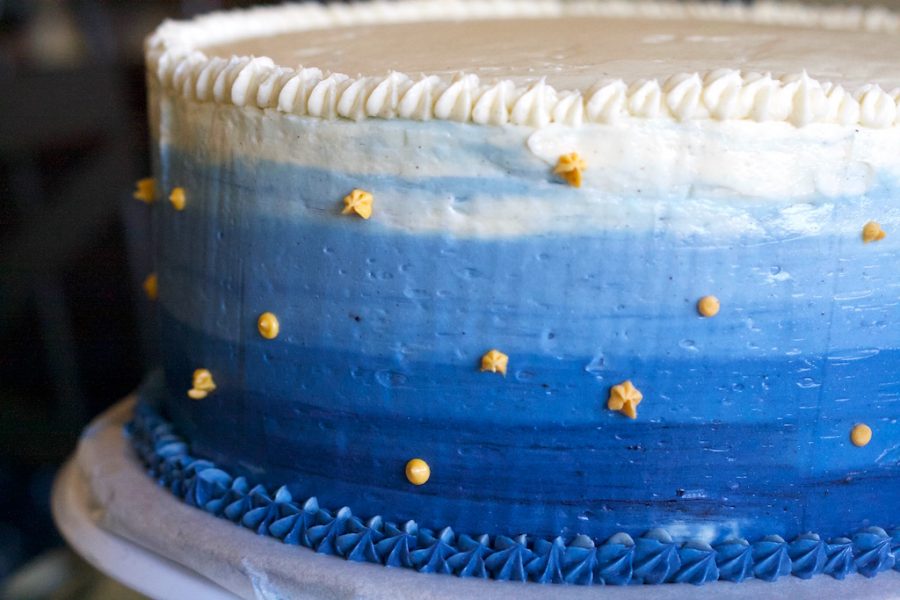
Ombré Cake
The other day I had the opportunity to make a “The Little Prince” inspired cake for a client’s baby shower. I wasn’t familiar with this story book but after some googling I found that deep blues and golden stars seemed to be the colour scheme of this story.
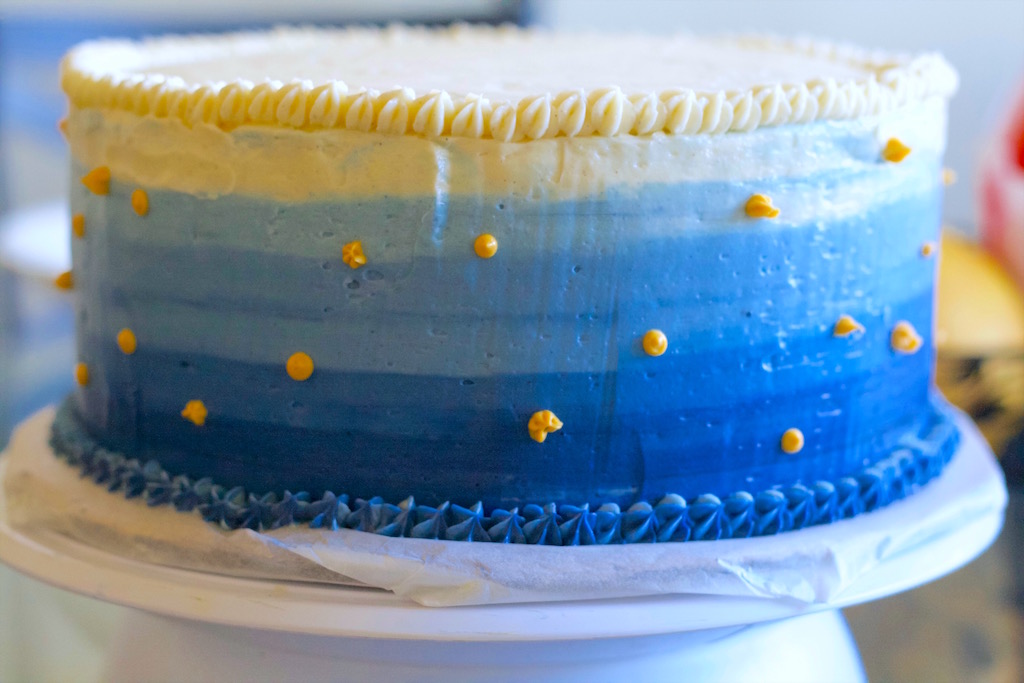
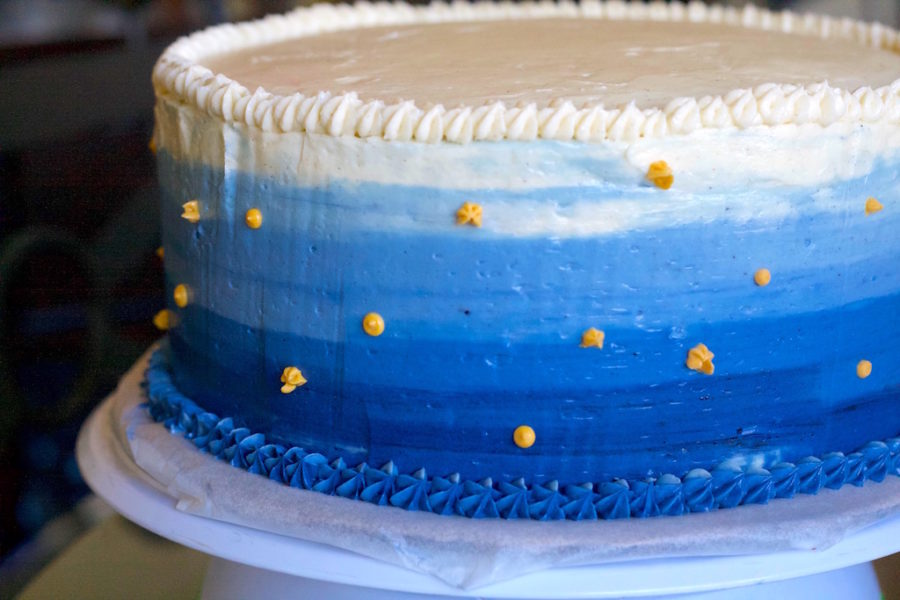
I thought an ombré cake would be suiting with colours that fade from a deep royal or navy blue into white…but I had never decorated a cake like that before. It’s always a bit scary to try out a new technique on a client’s cake but I was so pleased with the final product and I can’t wait to make another ombré cake!

So, step one is to bake your cake. I made an orange-vanilla bean gluten-free cake but whatever your favourite cake recipe is will work. Make at least three layers so that the cake has some nice height to it.
Once your cake layers have baked and cooled, it’s time to level them out. You know how your cake may have a little dome on top where it’s higher in the middle than on the outside? Well go ahead and gently cut that off until it’s even with the rest of the cake. If your cakes aren’t level to begin with, you will never be able to get that nice, smooth finish!
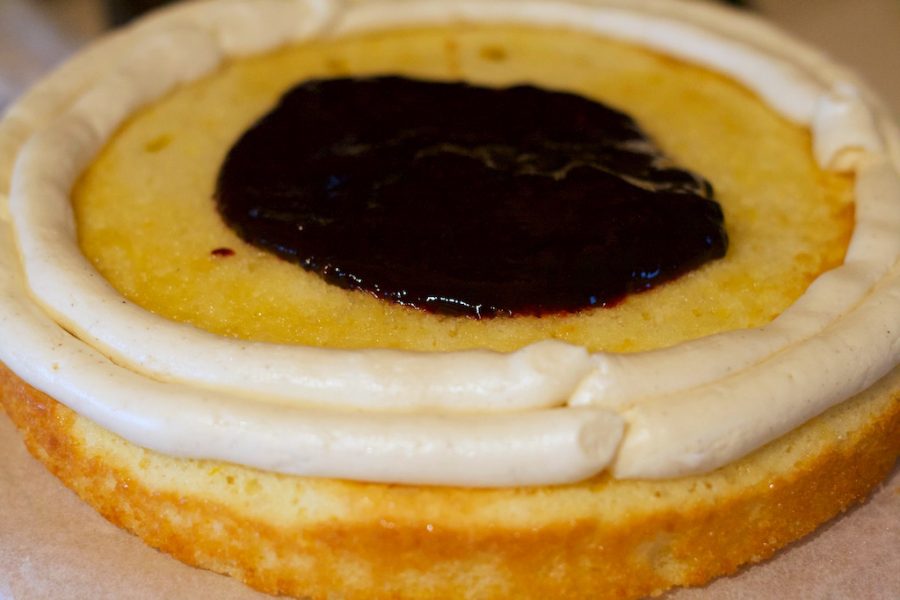
Take your bottom layer of cake and fill it however you like – you can either do a nice layer full of buttercream, or do like I did and add a fruit filling. If you’re using a fruit filling, pipe some buttercream around the outside and then add a nice thick layer of filling and spread it out from the middle to the edges of the buttercream.
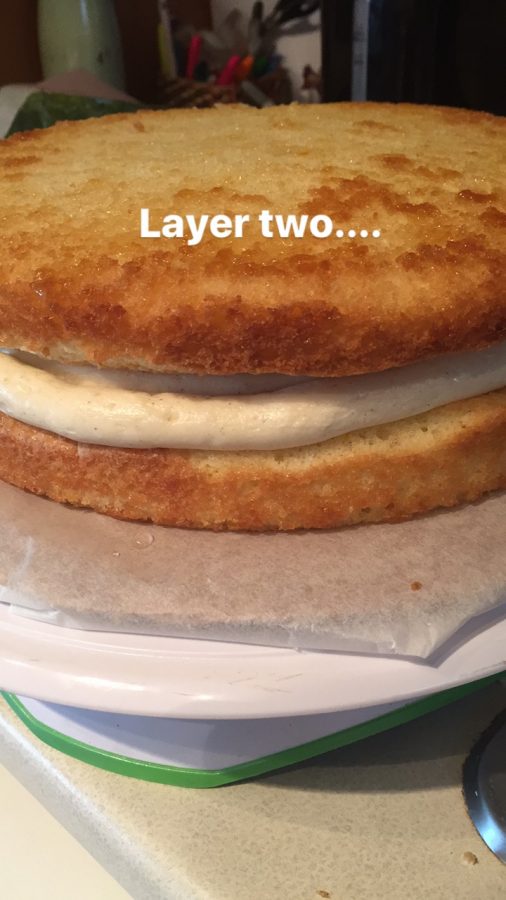
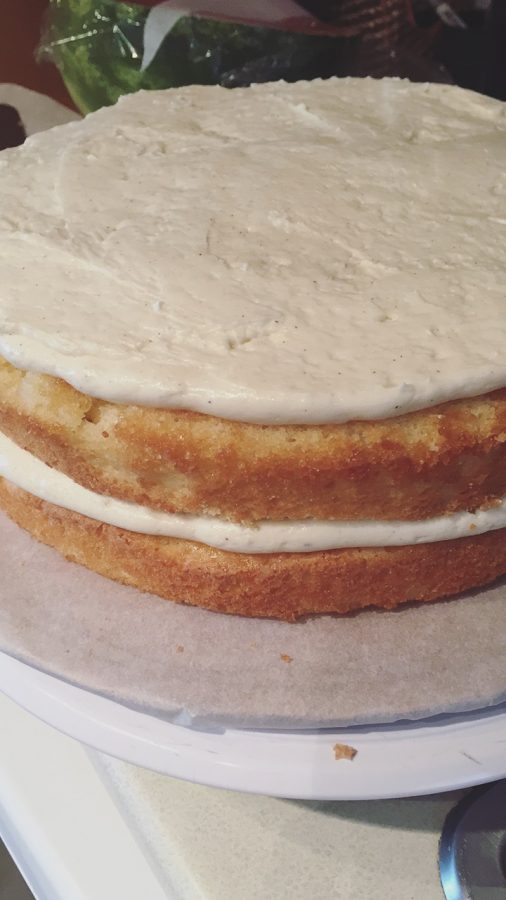
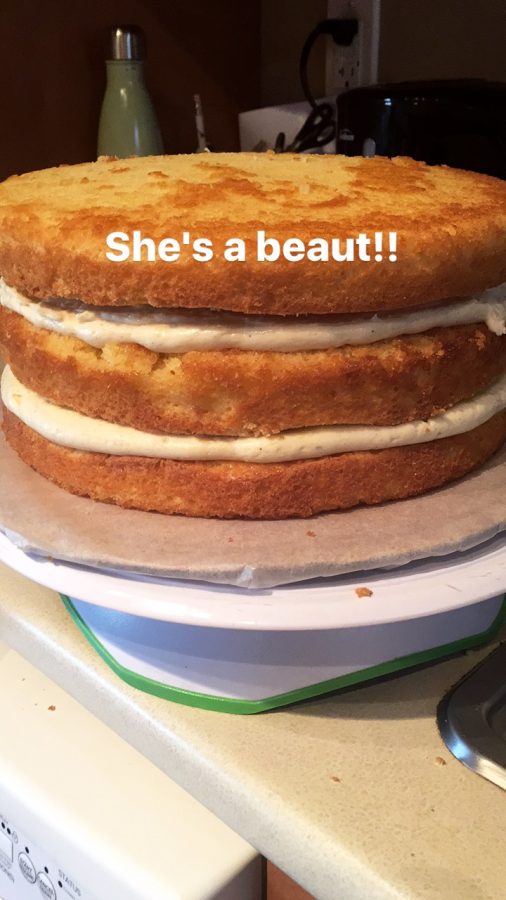
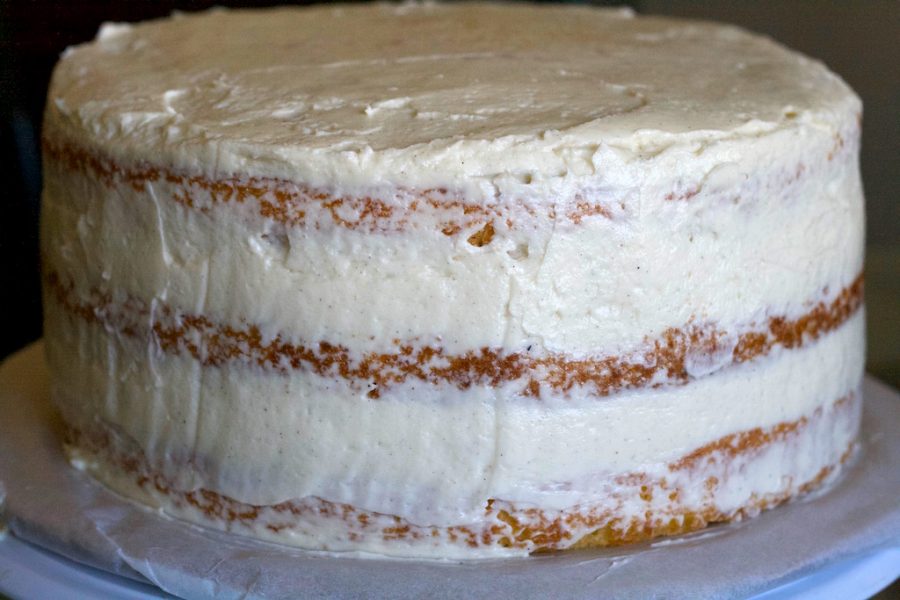
Add your second layer on top and again put a nice layer of filling. Add your final layer on top and add your “crumb coat”. This is a light coat of icing around the entire cake that helps lock in the crumbs so they don’t get into the final coat of frosting. After you crumb coat the cake, pop it in the freezer for 10-15 minutes until the icing has set.
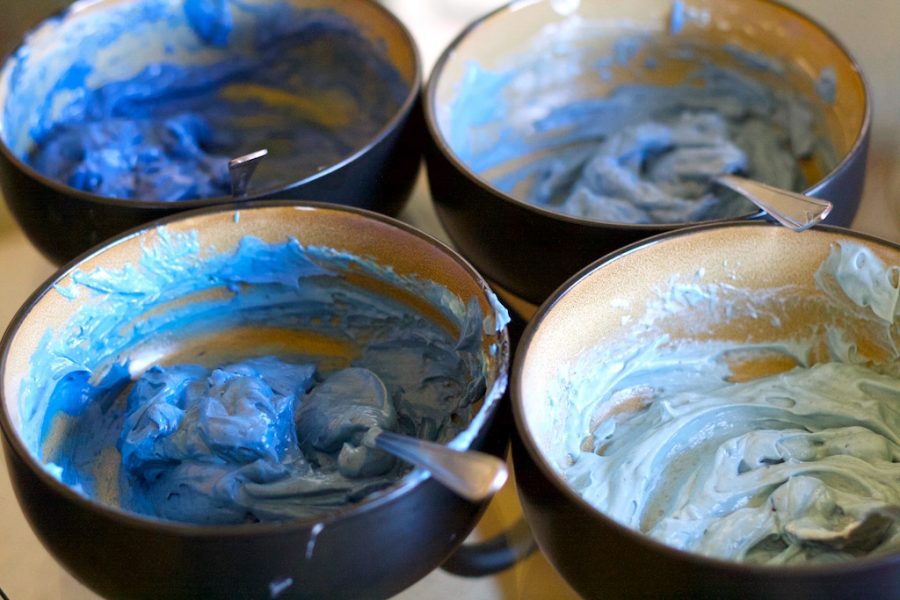
Finally, you are ready for your ombré layers. Take your buttercream and separate it into four bowls. You will need about a cup of icing for each colour if you are decorating a 10-inch cake.
I like to use food colouring gel instead of liquid colour as I think it achieves a better depth of colour.
Make your base (darkest) colour first by stirring the colouring into the icing little by little until you achieve the tone you are looking for.
In the next bowl, create a colour just a couple shades lighter than your base. In your third bowl, make a colour a couple shades lighter than your second bowl and so on. You final bowl should be a pastel version of the original colour.
Spread a nice, thick layer of white buttercream onto the top of the cake, leaving some overhanging the edges.
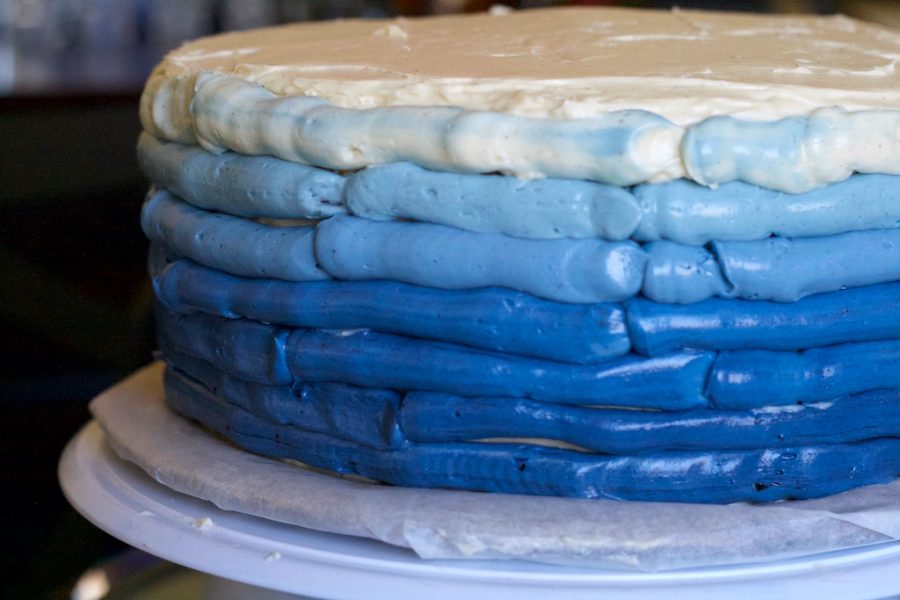
Add your base colour to a piping bag fitted with a large round tip. Starting at the bottom of the cake, pipe the icing onto the cake. After you have gone around the cake once or twice, most of the icing in the bag should be gone. If not, squeeze most of the rest out into a bowl and set aside. Without cleaning the piping bag, add the next darkest colour and repeat the process of icing around the cake. Once a layer or two has been done, add in the 3rd darkest colour and repeat. Follow the same steps for the lightest colour and when just one layer remains to be iced on the cake, add the white buttercream into the piping bag.
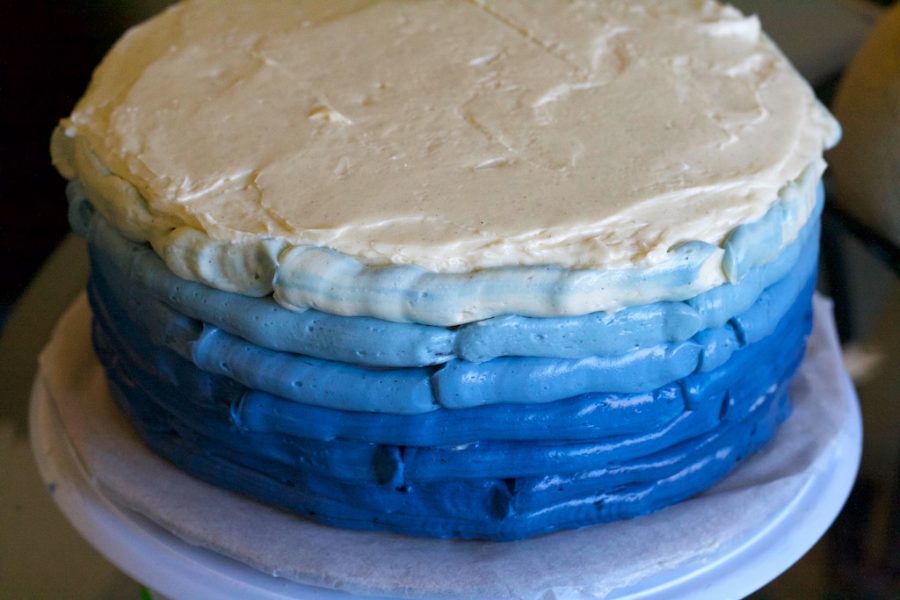
Using a straight metal icing spatula, it’s time to smooth the icing. Another option is to use a metal bench scraper. In a smooth motion, hold the spatula or bench scraper against the cake and gently drag against the icing, smoothing it while removing excess icing.
Take your time to make sure it is all even and then smooth out the top of your cake.
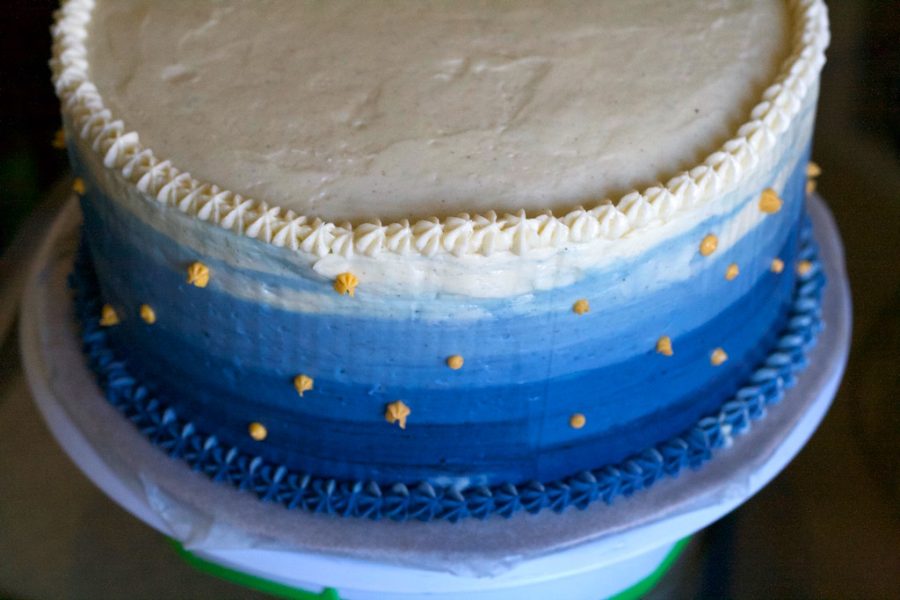
Using a small star tip, I piped stars around the base and top of my cake. I also added tiny yellow dots and stars scattered around my cake by using a very small round and star piping tip.
Although I love cooking clean, whole foods, I did go to pastry school so it’s always fun for me to bake and decorate cakes! I hope you liked this little tutorial, as it’s a bit of a different post for Koko’s Kitchen!
You May Also Like
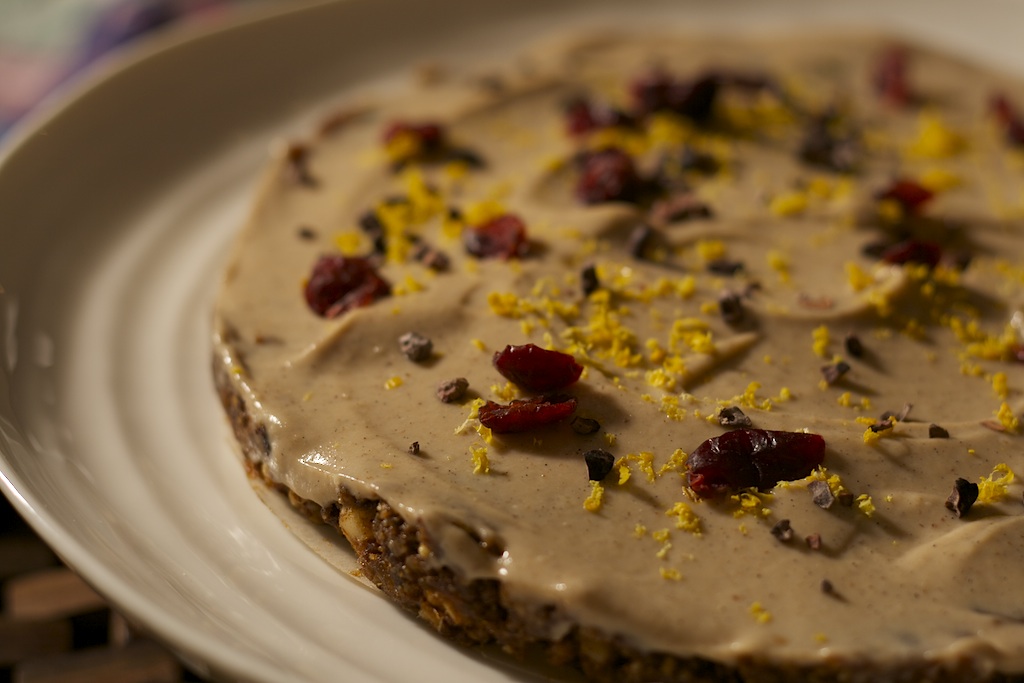
Raw Gingerbread Cake with Cashew Cream Cheeze Frosting
Simple Honey Raisin Cake